We love a bracelet stack—until it’s time to put one on by yourself. If you’ve ever chased a clasp round your wrist like a toddler at soft play, this simple hack is for you: a paperclip, a little patience, and you’re done.
What You’ll Need
- One standard paperclip (small or medium works best)
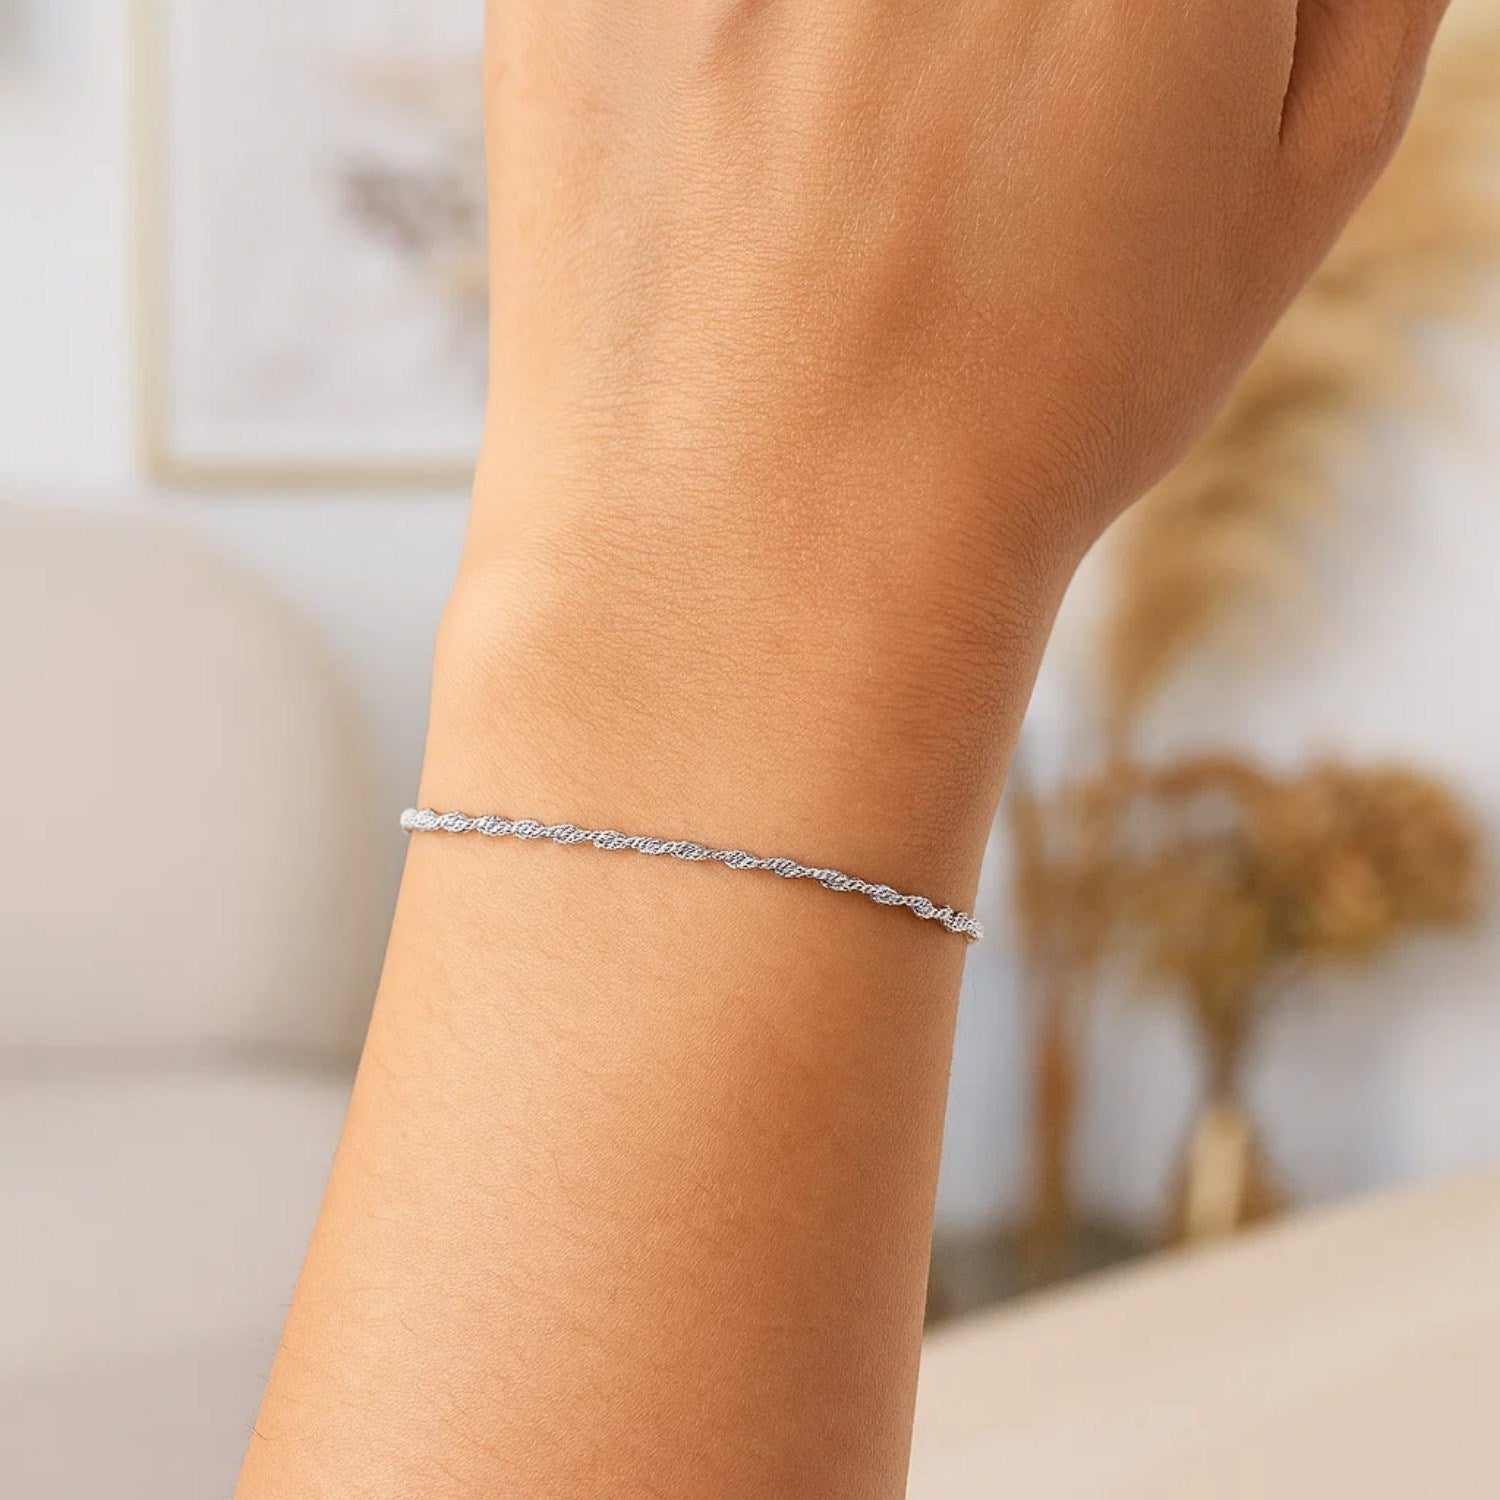
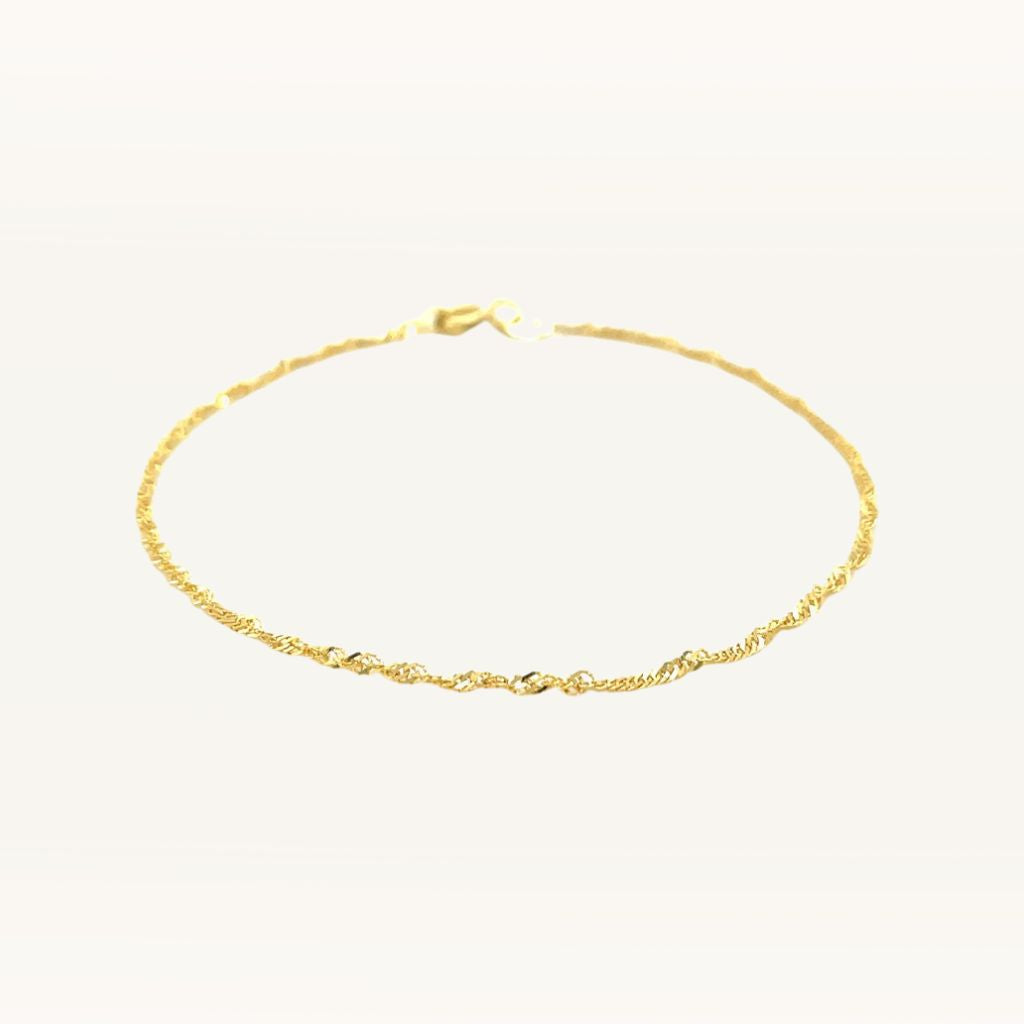
- Your bracelet (lobster or spring-ring clasps work perfectly)
- Optional: a soft cloth to protect delicate finishes
Step-by-Step: The Paperclip Method
- Open the paperclip. Bend it into a simple hook shape.
- Hook the bracelet. Loop the hook through the end ring or the non-clasp side of your bracelet.
- Hold steady. With your non-dominant hand, hold the paperclip so that end stays put against your wrist.
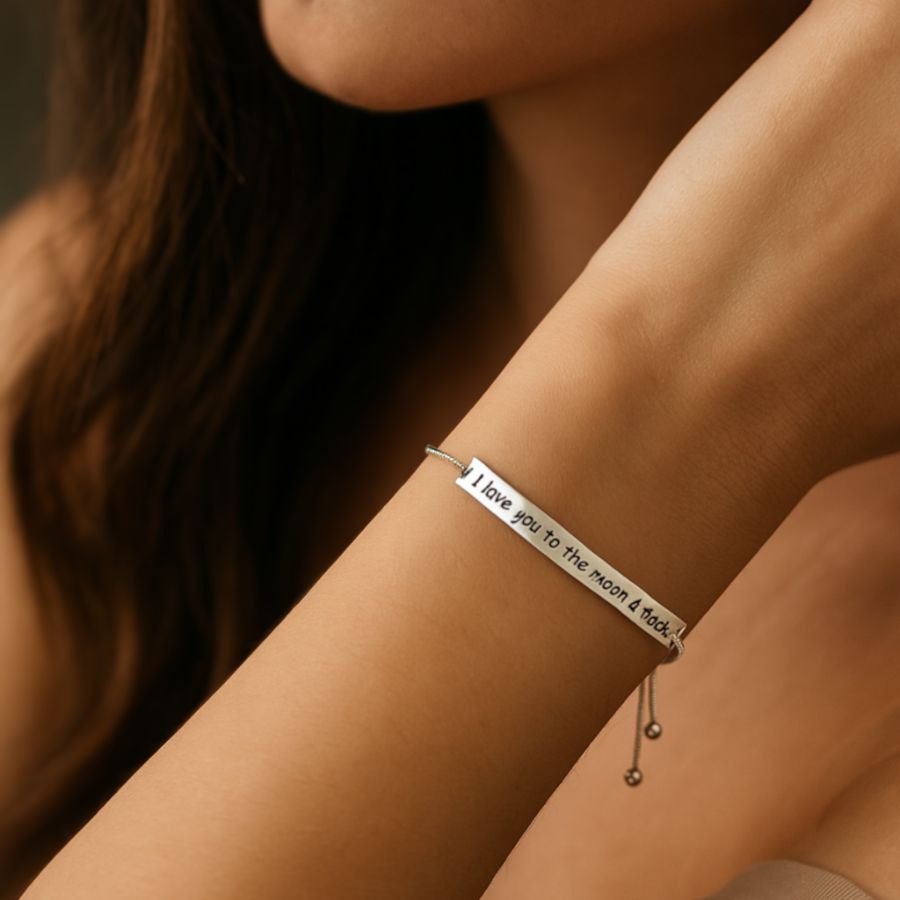
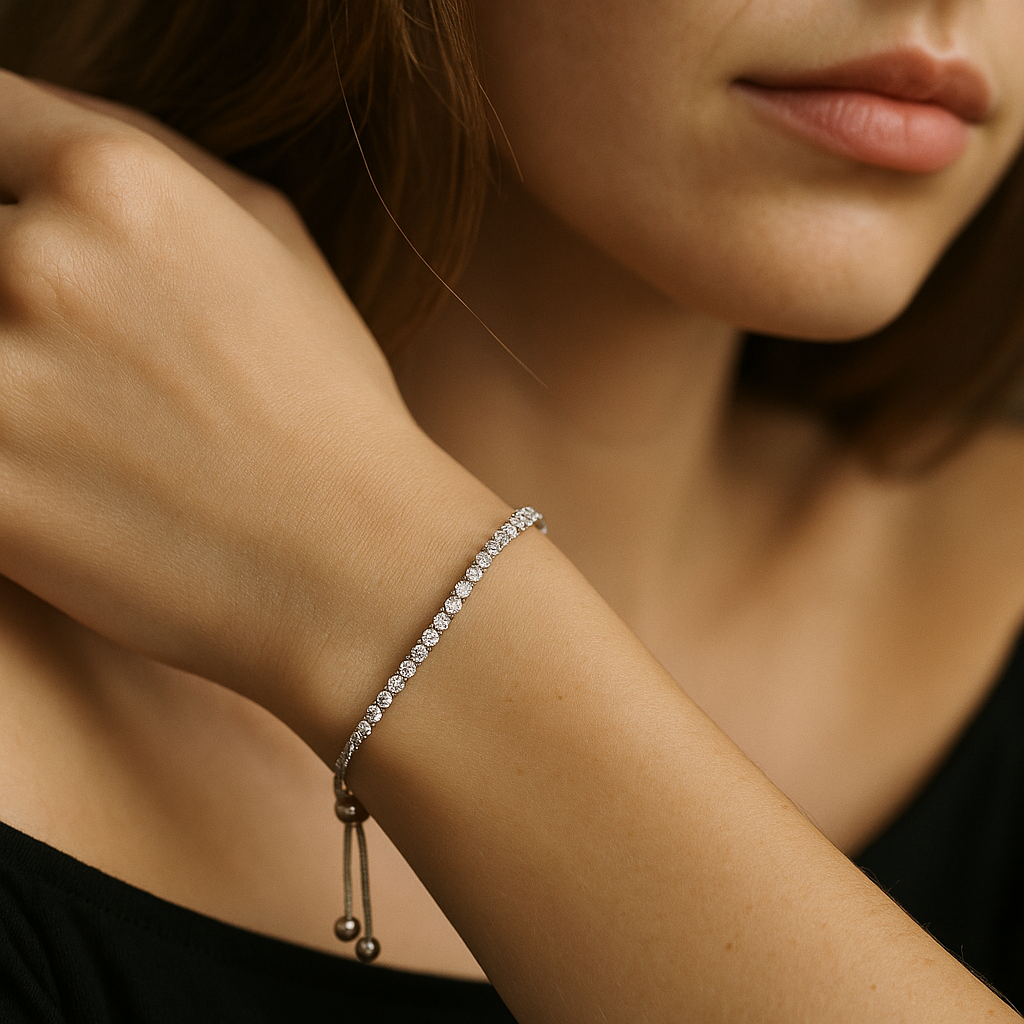
- Clasp with your free hand. Use your dominant hand to bring the clasp round and fasten it to the end ring.
- Slide off the helper. Gently remove the paperclip hook—your bracelet is secure.
Why It Works
The paperclip creates a temporary “third hand”, anchoring the bracelet so the end ring doesn’t spin away while you guide the clasp. Stabilising that anchor point turns a fiddly two-handed job into a smooth, one-handed motion.
Pro Tips
- Protect the finish: If your bracelet is easily marked, place a thin cloth between the paperclip and the metal.
- Size the hook: Make the hook small enough to hold, large enough to release easily once clasped.
- Work on a soft surface: In case you drop the clasp, a towel saves both time and temper.
- Practice once off-wrist: Hook and unhook the paperclip to get the feel before trying it on your wrist.
Great Alternatives (No Paperclip? No Problem.)
- Sticky tape: Tape the non-clasp end to your wrist, clasp, then peel away gently.
- Bobby pin: Use like the paperclip hook for a slimmer profile.
- Bracelet helper tool: A purpose-made clip with a soft grip if you want a dedicated gadget.
When to Skip the DIY
If your bracelet is vintage, ultra-delicate, or uses a fragile filigree end ring, avoid hooks or tape that could stress the metal—ask someone to help, or use a dedicated bracelet helper tool with a padded grip.